Quick, Easy and Durable Work Horses
INTRODUCTION
Here is quick lesson on building long lasting very strong saw horses quickly and cheaply. With the exception of screws, all materials used in this tutorial were recycled. With a compound miter saw and a drill/driver, they take about 45 minutes and cost about 30 bucks if you are using new material.

Completed Saw Horse
MATERIALS FOR 1 PAIR
(2) 2 x 6 x 12' (or 8 pieces 32" or Longer)
(3) 2 x 4 x 8' (or 6 pieces 36-48")
4 2 x 4 or 6 scraps 14" or longer
About 80 3" Deck Screws
STEP ONE-LEGS
Cut 8 legs (2 x 6 stock) with a compound angle of 10 degrees on both angles (cross cut of 10 and a bevel of 10)
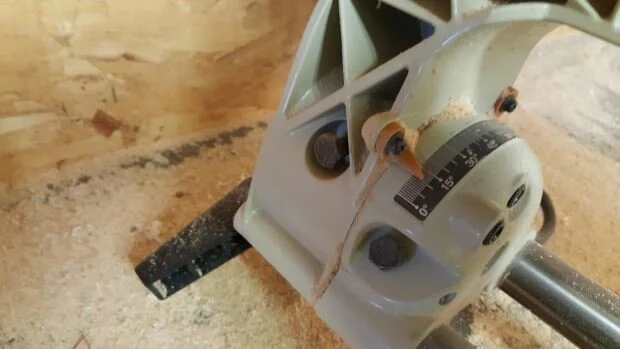
Set saw bevel to 10 degrees

Set saw miter to 10 degrees
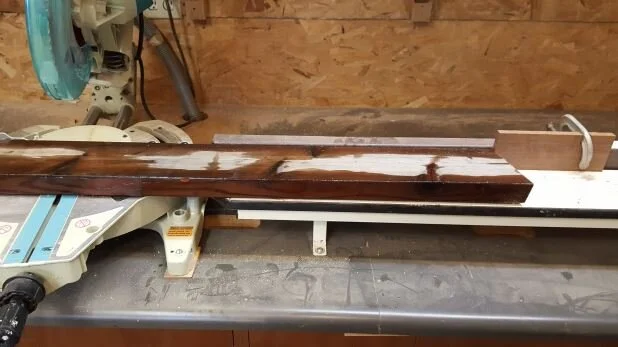
Cut Both ends using a jig/stop to insure exactly the same length.
Set Jig to 32" short point to long point. DO NOT flip stock…just cut one end, slide down and cut other end. This insures matching complementary angles.
STEP 2-CUT AND ASSEMBLE RAILS
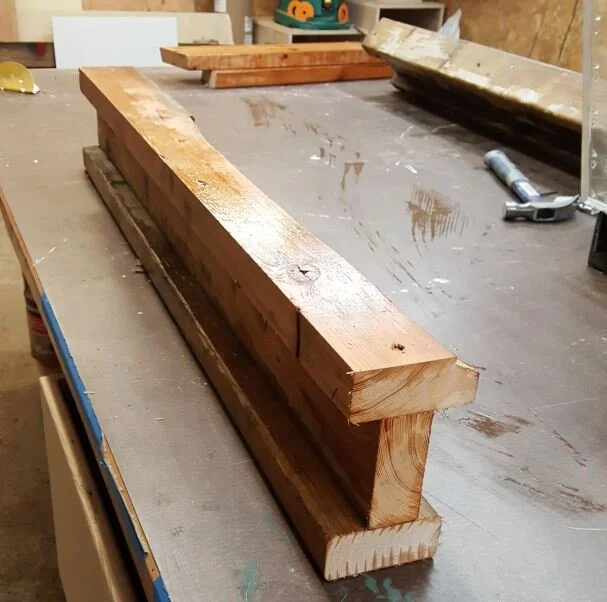
Cut 6 2 x 4 to 42". You can make them any length you want. If you are racking out a bunch of stuff to finish you could make them 8'. I personally find 42" to be about the right length and it keeps the weight down. 32" or 36" would work fine as well.
Use 3 3" Deck screws to attach each of the top and bottom rails to the center vertical piece. You could also assemble with nails as well. Screws do seems to hold up longer though.
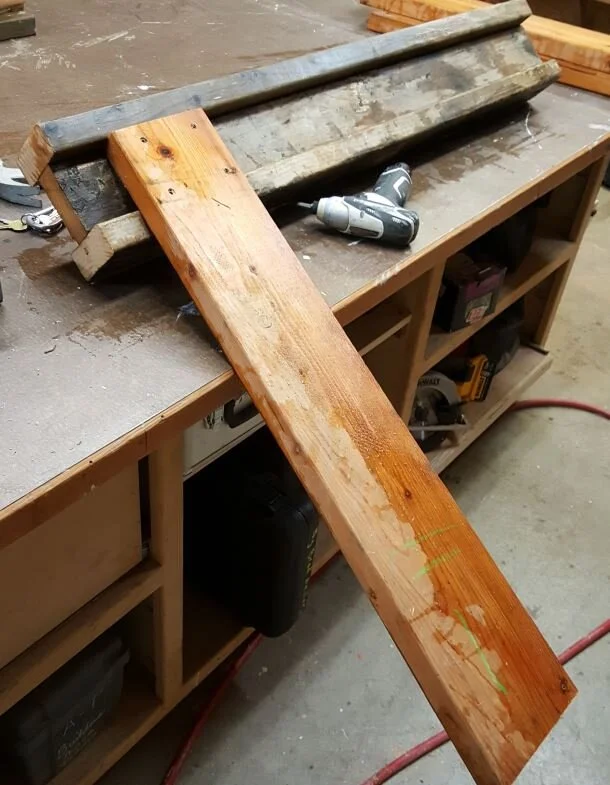
Additionally you can attach another cap of clean and nail free material if you are using for finish work or other "clean assembly". Just attach to top rail from underneath with the right length fastener.
STEP 3- INSTALL LEGS TO RAIL
Give yourself a mark at least 3" from the end of the top rail. You will align the outside edge of the leg with this mark. With a 10 degree angle this will insure that the bottom of the leg will NOT stick out past the top of the sawhorse.
If the leg sticks out beyond the top of the rail…you WILL trip over it when walking around the horse.
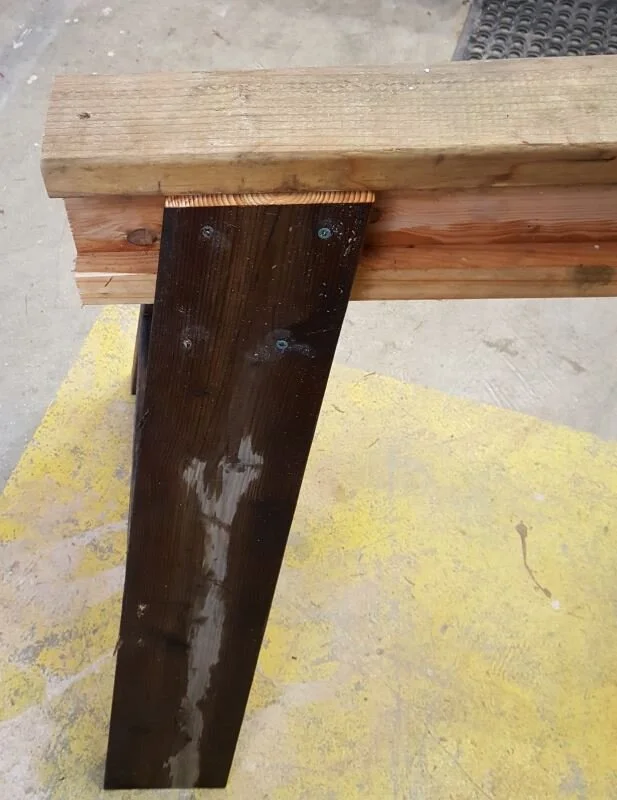
Fasten legs to rail as shown above. Under top rail and over bottom rail.
STEP 4-INSTALL LEG BRACES

Cut 4 2 x 4's at 13" Long Point to Long Point. Set the miter angle to 14 degrees. Install as shown with 3 3” screws at each end.
DONE!
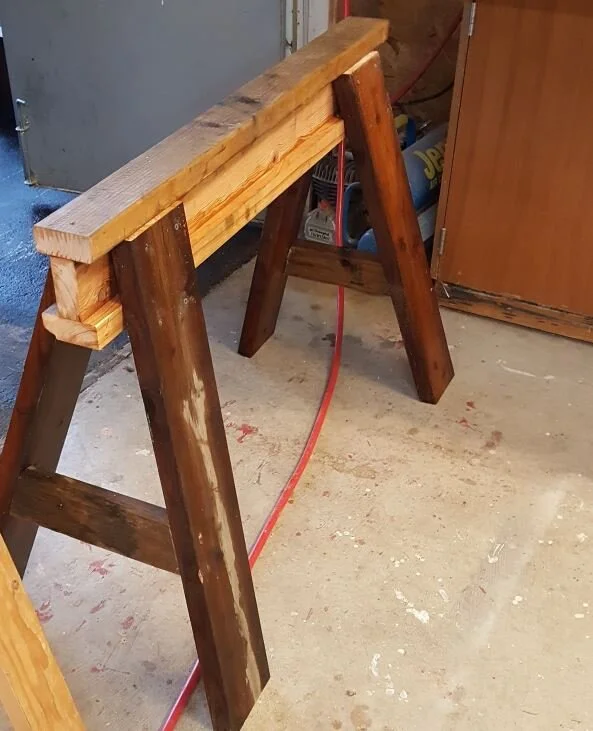
Sawhorse made easy...To make taller cut the legs longer. To make it longer make the rails longer.
With the I-Beam construction these can be made almost any length and still be plenty strong.
Install hooks on the end of the rails to hang cords.
Add a plywood platform underneath for tool or fastener storage.